Pre-Requisites
- Gravity Forms and Gravity Forms Square Add-On installed
- SSL Certificate Installed and Configured
- A Square Account
Getting to the Square Settings
The Square Settings will allow you to connect and authenticate to your Square account. It will allow you to connect to either your Live or Sandbox Square environment.
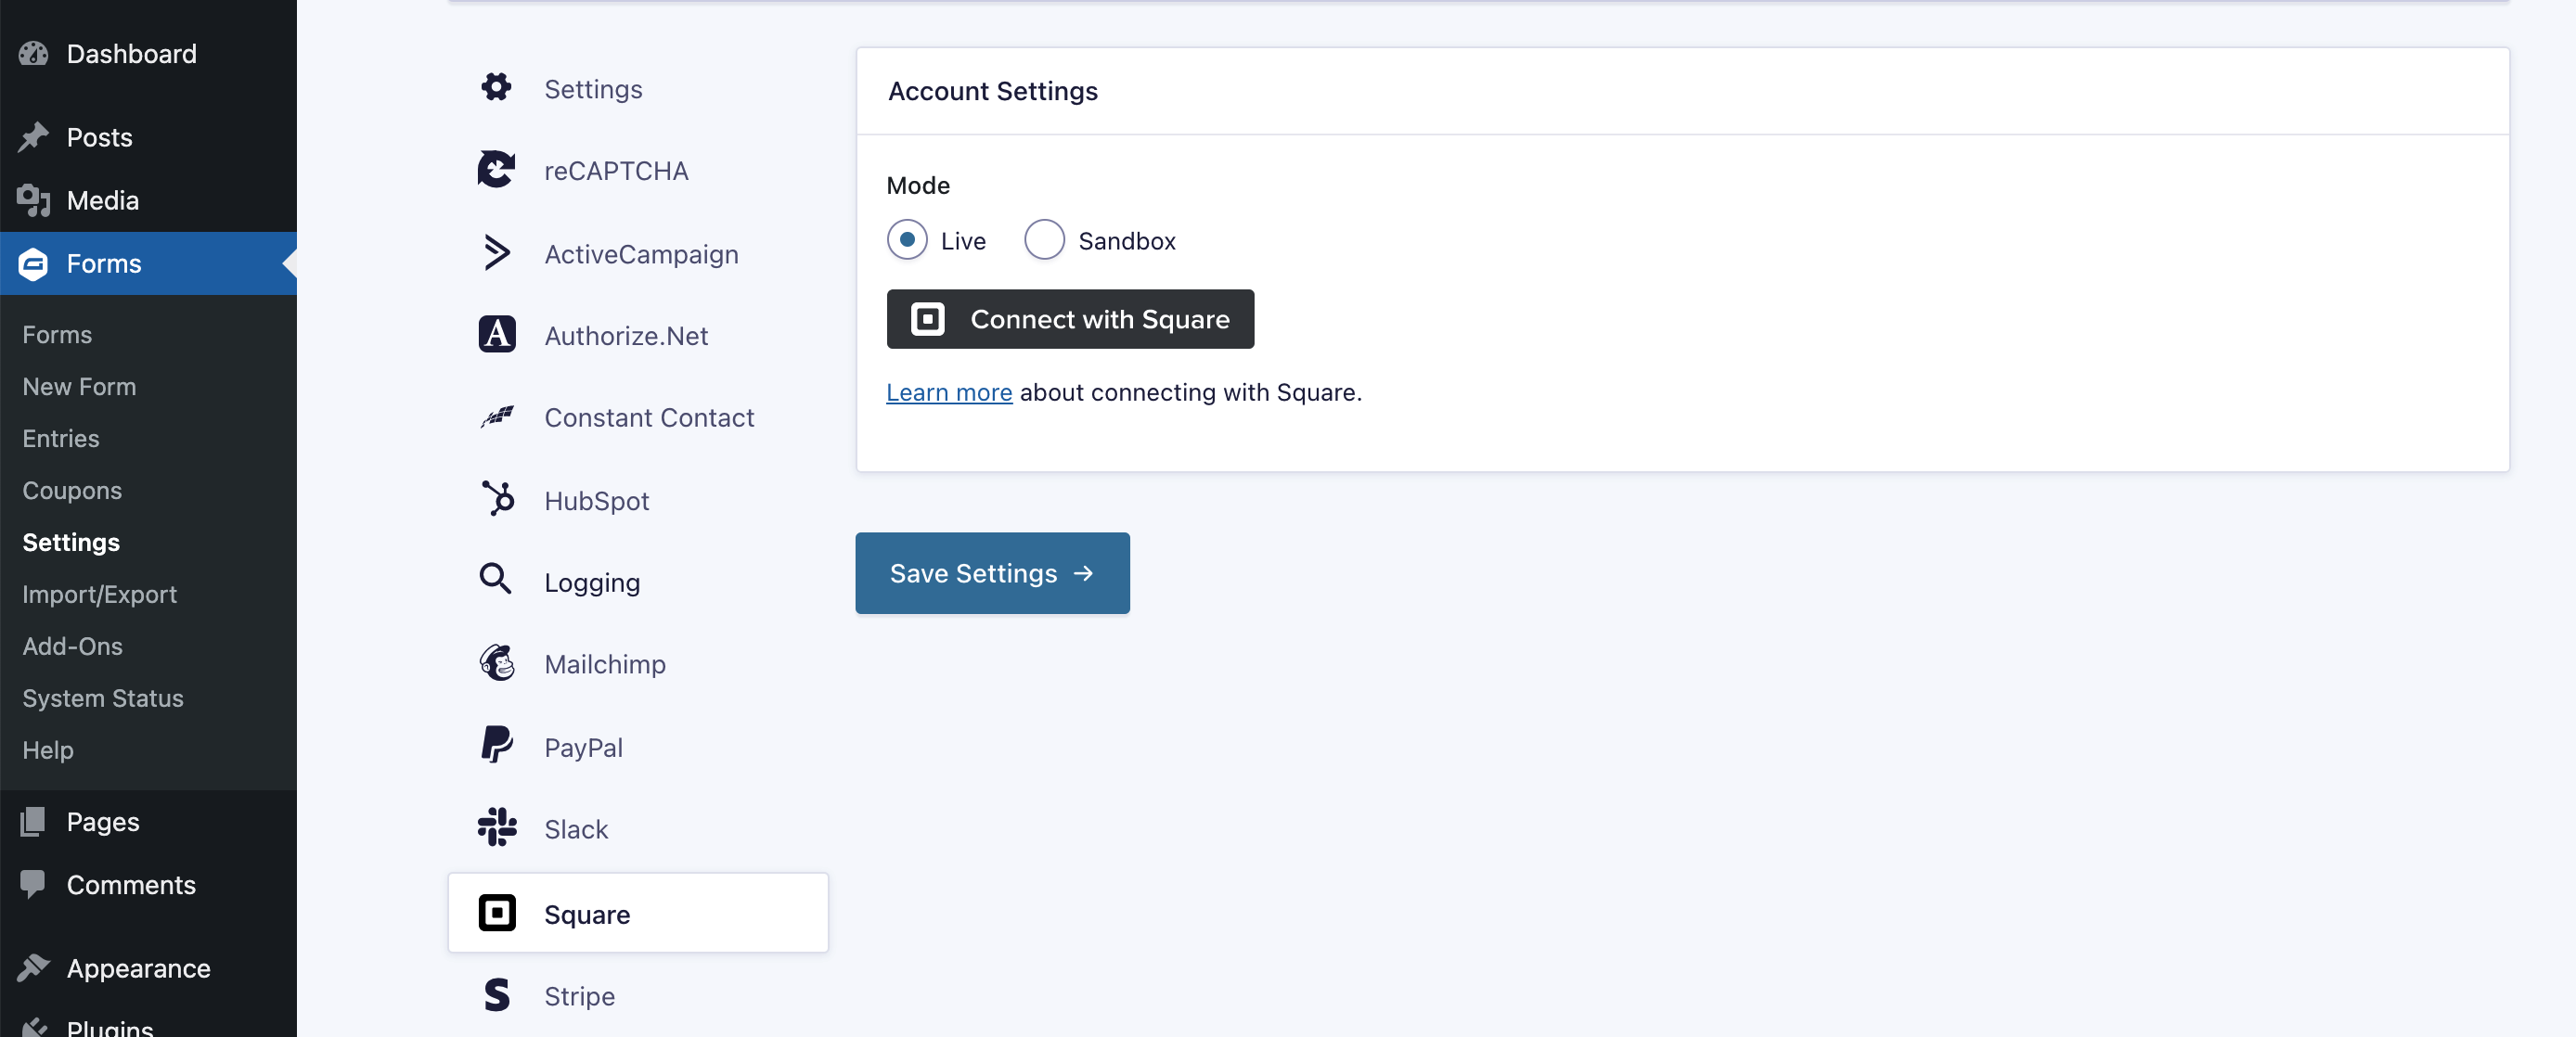
Navigate to your Square Add-On Settings page:
- Log into your WordPress admin dashboard.
- On the left side navigation menu, hover over Forms and click on Settings.
- Click on the Square tab.
Mode
Specify the environment you want to send your form submissions to. Choosing Live will send transactions to your live/production Square account and may initiate real charges. Sandbox will pass the form entry into your Square Sandbox environment, which will not generate any real transactions.
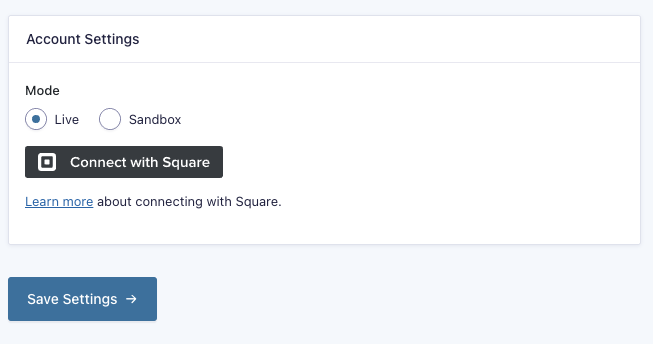
- Under Account Settings, select the Mode to use for Square integration: Live or Sandbox.
- Continue in the sections below labeled Connecting to Live or Connecting to Sandbox.
Connecting to Live
- Select the Mode Live and Click the Connect with Square button.
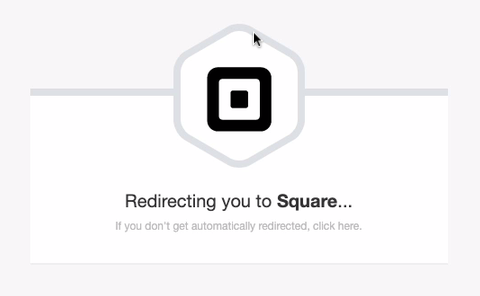
- Your web browser will pass you to a new screen showing “Redirecting you to Square…”
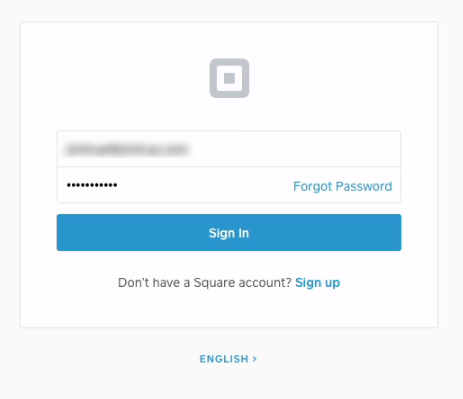
If you aren’t automatically redirected, there is a link to follow in the form that will take you to the Square authentication page. - Login with your Square Account and Sign In.
- You will be directed to a Square Permissions screen with the message “Gravity Forms is requesting permission to do the following:” and a list of the permissions that are necessary for the feed to be properly configured.
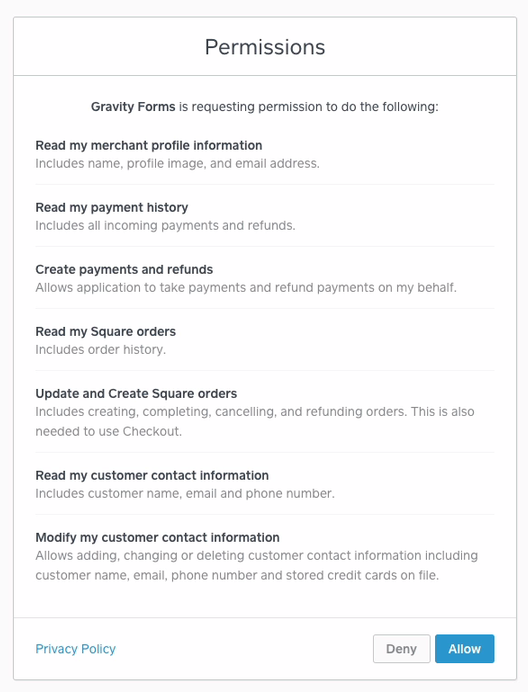
- Click Allow to accept the listed permissions for Gravity Forms access to your Square account. This will connect your Square account to Gravity Forms.
- You will be returned to the Square Settings tab. You should see “Connected to Square as” with your account name.
- A new section will also be added for Business Location. Your default Business Location in Square will be selected, but if you have more than one in your account, you can select the correct one from this list.
- Click Update Settings to finish configuring your Square Settings.
Once you have entered your Square settings, you’re ready to begin Setting up a Square Compatible Form.
Connecting to Sandbox
Configuring the Sandbox connection requires a Developer account configured at Square. Please read the article on Creating a Square Sandbox Account for Testing prior to completing this step.
Once you have launched the Seller Test account from the Square Developer Dashboard, you can continue connecting your Sandbox Account to the Square Add-on:
- Select the Mode Sandbox and Click the Connect with Square button.
- Your web browser will pass you to a new screen showing “Redirecting you to Square…”
- If you have not opened the Seller Dashboard properly, you will get the following error screen:
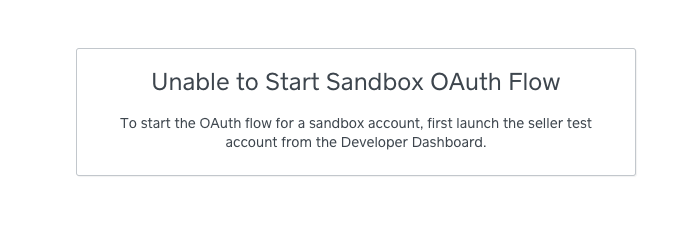
If you do not get the above error message, skip to Step 4. Otherwise, you will need to Open the Sandbox Seller Dashboard in a new window first. - You will be directed to a Square Permissions screen with the message “Gravity Forms is requesting permission to do the following:” and a list of the permissions that are necessary for the feed to be properly configured.
- Click Allow to accept the listed permissions for Gravity Forms access to your Square Sandbox account. This will connect your Square Sandbox account to Gravity Forms.
- You will be returned to the Square Settings tab. You should see “Connected to Square as” with your Sandbox Application Name.
- A new section will also be added for Business Location. Your default Test Account Application in Square will be selected, but if you have more than one in your account, you can select the correct one from this list.
- Click Update Settings to finish configuring your Square Settings.
Once you have entered your Square settings, you’re ready to begin Setting up a Square Compatible Form.